
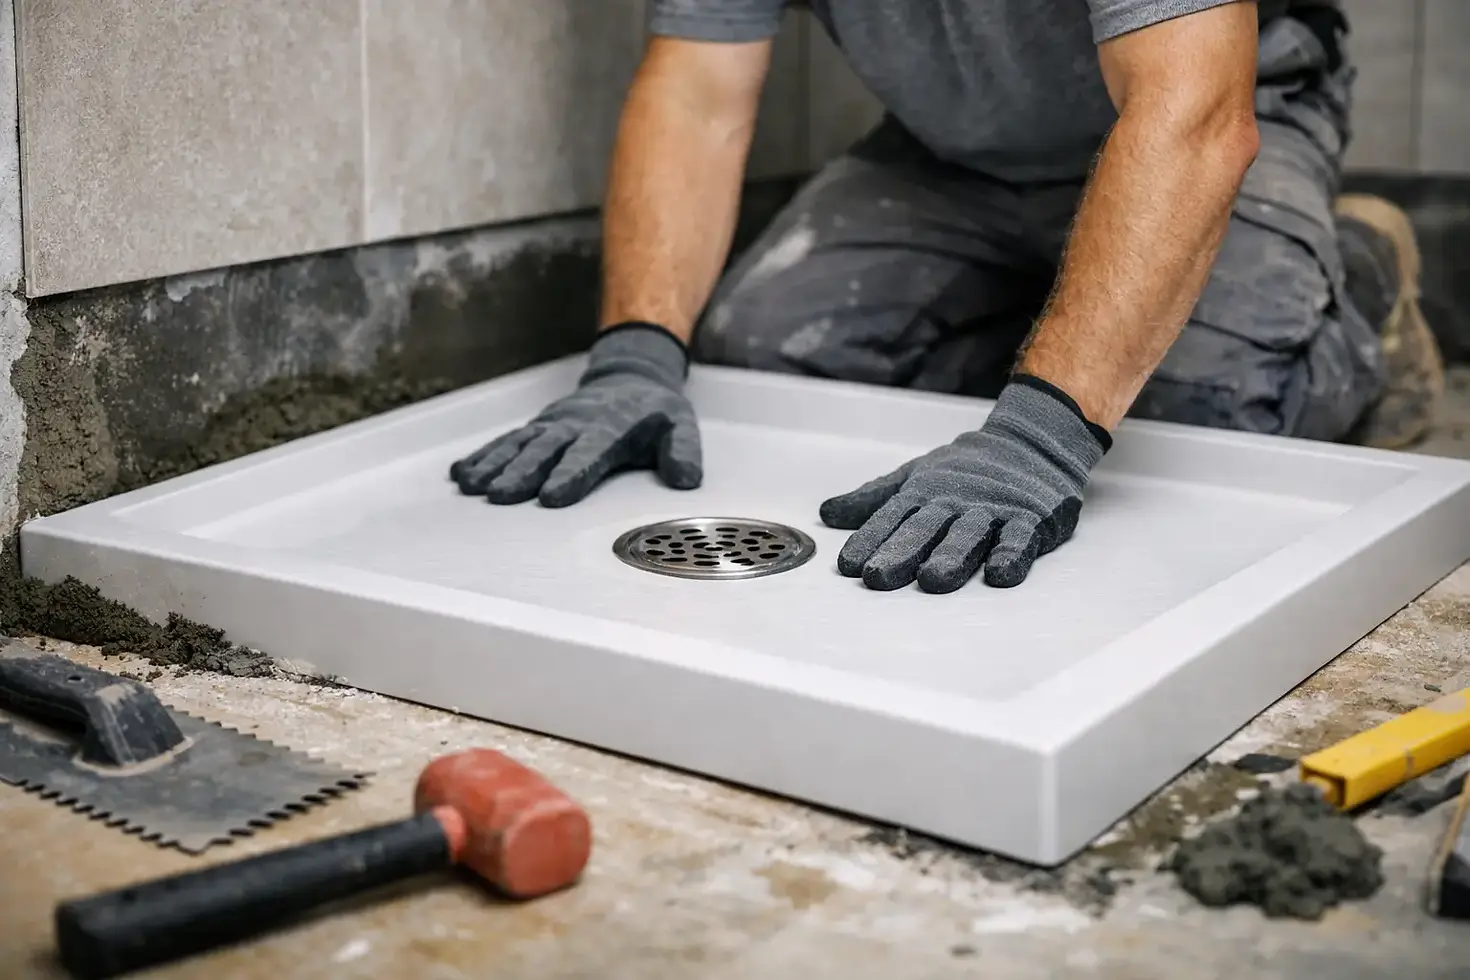
Shower Pan Installation Steps That Prevent Leaks
A shower can have beautiful tile, precise grout joints, and quality fixtures, but none of it will hold up if the base beneath it is not built correctly. The shower pan installation steps are where long-term performance is decided. A small error in slope, drain connection, waterproofing, or mortar support can allow water to reach the subfloor and framing long before a visible leak appears.
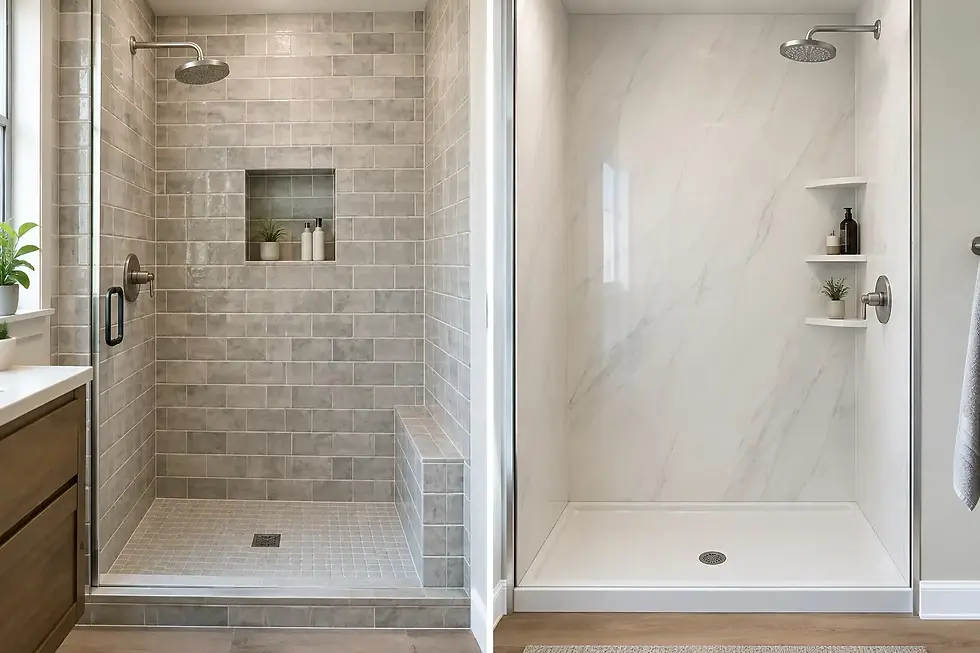
For a custom tile shower, the pan is not simply the floor. It is a complete drainage and waterproofing assembly designed to move water to the drain while keeping the structure below dry. The right method depends on the type of shower system, the condition of the framing, the subfloor material, local requirements, and whether the project includes a curbless entry.
Start With Demolition, Framing, and Subfloor Preparation
The work begins after the old shower materials have been removed down to sound framing and subflooring. This is the point to find hidden damage, not after new tile is installed. Any water-stained, soft, delaminated, or mold-damaged wood should be evaluated and replaced as needed. Installing a new pan over compromised materials only covers up a larger problem.
The subfloor must be clean, solid, and properly fastened. A floor that flexes under foot can crack tile, grout, or a mortar bed over time. Framing also needs attention. Walls should be plumb, corners reasonably square, and blocking installed where the waterproofing system, shower door, grab bars, or accessories require support.
Drain location matters. A centered drain can make floor layout and slope more uniform, while a linear drain can work well for modern large-format tile or curbless shower designs. Moving a drain may require plumbing changes and permit considerations. It is worth addressing before waterproofing begins, because the drain and pan system must work together as one assembly.
Choose the Right Shower Pan System
There is no single best shower pan for every bathroom. A traditional mortar pan with a vinyl or PVC liner remains a proven approach when built correctly. It uses a pre-slope under the liner, a clamping drain, liner protection at the drain, and a final mortar bed above it.
A bonded waterproof membrane system takes a different approach. The membrane is bonded directly beneath the tile setting surface and connected to a compatible bonding-flange drain. This keeps the mortar bed from becoming saturated and can simplify certain custom shower details. Preformed foam shower trays are another option, particularly when the drain placement and room dimensions match the tray.
The trade-off is flexibility versus system-specific installation. A hand-packed mortar bed can be shaped for nearly any size, drain position, or out-of-square room. Foam trays install quickly but may need modification or may not suit an irregular footprint. Whichever method is selected, mixing products from unrelated systems without confirming compatibility can create a weak point at the drain or waterproofing transitions.
Shower Pan Installation Steps for a Watertight Base
1. Set the Drain at the Correct Height
The drain height must match the selected pan method and finished floor thickness. For a traditional liner pan, the lower portion of a clamping drain is set to allow for the pre-slope beneath the liner. For a bonded membrane system, the drain flange must sit level and be fully supported at the specified elevation.
A drain that is not level can make the floor difficult to slope evenly. A drain set too high creates an unnecessarily thick shower floor, while one set too low can leave insufficient mortar thickness or interfere with the required assembly. This is a detail that should be measured, not guessed.
2. Build Positive Slope to the Drain
Water must have a continuous path to the drain. The commonly used target is a minimum slope of one-quarter inch per foot from the farthest wall to the drain. That slope needs to be present in the waterproofing layer, not just in the tile surface.
In a traditional pan, this first layer is called the pre-slope. It is formed before the liner is installed, so any moisture that reaches the liner is directed toward the drain’s weep holes. Installing a liner flat on the subfloor is a serious failure point. Water can remain trapped beneath the final mortar bed, creating persistent moisture, odor, and deterioration around the drain.
With a surface-applied membrane, the sloped mortar bed or foam tray sits directly beneath the waterproofing. The goal is the same: water that gets through grout or at a tile edge must reach the drain without entering the structure.
3. Install the Waterproofing Without Punctures or Gaps
For a liner-based shower, the liner is carried up the walls high enough to protect above the curb and is carefully folded at corners. It should never be cut at inside corners or fastened through the lower portions of the walls. Fasteners belong above the safe height specified for the system.
The curb requires special care. A liner cannot be punctured across the top or on the interior face of the curb. Improper curb fastening is one of the most common reasons a tile shower leaks. Preformed dam corners or properly bonded corner patches are used where the liner turns over the curb.
For sheet or liquid-applied membrane systems, seams, corners, fastener penetrations, wall-to-floor transitions, niches, and pipe openings must be treated according to the system requirements. Liquid membranes need the correct dry-film thickness. Applying them too thin may look covered while providing inadequate waterproof protection.
4. Perform a Flood Test Before Tile Work
A flood test is the practical proof that the shower pan holds water. After the waterproofing has cured or been installed as required, the drain is plugged below the waterproofing connection and the shower base is filled with water. The water line is marked and monitored, typically for at least 24 hours or according to local inspection requirements.
If the water level drops, the problem must be found and repaired before moving ahead. Evaporation can be considered, but a noticeable loss or moisture below the shower is not something to explain away. This is the least expensive time to correct a failed seam, drain connection, or corner detail.
5. Protect Drainage Paths and Form the Final Bed
Traditional clamping drains include weep holes that allow water from the liner level to enter the drain. These openings must remain clear. Pea gravel, approved drain protection, or a purpose-made weep protector is placed around the drain before the final mortar bed is packed.
The final mortar bed is then shaped to maintain the same consistent slope to the drain. It needs to be firm, properly compacted, and flat enough for the planned tile size. Large-format floor tile can be more demanding because a floor with uneven plane changes may create lippage or leave tile corners unsupported.
At the curb, a metal lath and mortar approach may be used with traditional systems, but the liner still cannot be punctured in vulnerable areas. With bonded membrane systems, the curb construction follows the manufacturer-approved method. The detail changes, but the standard does not: water must stay on the waterproofed side of the assembly.
Tile Installation Does Not Replace Waterproofing
Tile and grout are finish materials, not the primary waterproof barrier. Even well-grouted shower floors can transmit moisture. That is normal. What matters is whether the pan beneath the tile is sloped, continuous, and properly tied into the drain.
Use a tile suitable for shower floors, with enough texture and grout-joint pattern to provide traction. Small mosaic tile is common because it follows the slope easily. Larger tile can work in some showers, especially with linear drains, but it requires careful planning. The floor, wall tile, curb, and drain should be laid out together so cuts are balanced and transitions look intentional.
Movement joints at changes of plane should be treated appropriately rather than hard-grouted. This includes wall-to-floor corners and wall-to-wall corners. Rigid grout in these locations can crack as the structure moves.
When a Curbless Shower Needs More Planning
Curbless showers create a clean, accessible look, but they are not a standard pan installation with the curb removed. The bathroom floor elevation, framing depth, drain capacity, waterproofing extent, and floor slope outside the shower all require planning. In some homes, the subfloor must be recessed or framing modified to create adequate slope without raising the entire bathroom floor.
The waterproofed area may need to extend beyond the shower opening, depending on the design and local requirements. Glass placement, showerhead direction, and the amount of open entry all affect how well the room contains water. A curbless shower should be designed as a complete wet-area system, not treated as a cosmetic upgrade.
A shower pan is hidden once the tile is complete, which is exactly why the workmanship behind it matters. For homeowners and property managers in the Central Valley and Bay Area, a licensed tile and waterproofing contractor can help identify the right shower system, correct underlying conditions, and complete the work with the precision a long-lasting bathroom requires.


Comments