
How to Install Large Format Tile Correctly
A 24-by-48-inch tile can make a bathroom, kitchen, lobby, or living area look clean and expansive. It can also expose every low spot in the floor, every rushed layout decision, and every missed area of mortar coverage. To install large format tile correctly, the work has to begin well before the first tile is set.
Large tile has less room to follow an uneven surface than smaller formats. When the substrate, layout, setting materials, and movement joints are handled properly, the result is a flat, durable finish that looks intentional for years. When they are not, problems such as lippage, cracked grout, hollow spots, and loose tile can follow.
Start With a Flat, Sound Substrate
Flatness matters more as tile size increases. This is the foundation of a successful large-format installation. A floor can be structurally sound and still be too uneven for large tile. Tile does not correct dips, crowns, or abrupt changes in plane. It follows them.
Before installation, the surface should be checked with a long straightedge in several directions. The goal is not simply a level floor. A floor may be out of level and still perform well if it is flat enough for the tile and installation method. What creates trouble is variation across the surface that causes adjacent tiles to sit at different heights.
On concrete slabs, preparation may involve grinding high areas, filling low areas with an appropriate patching material, or installing a self-leveling underlayment where conditions call for it. Existing cracks also need evaluation. Some may require crack-isolation treatment, while active structural movement needs a different solution. Covering a problem slab with tile does not make the problem disappear.
Wood-framed floors require the same attention, plus verification that the framing and subfloor meet the deflection requirements for the selected tile. Natural stone has stricter structural requirements than ceramic or porcelain tile. In bathrooms and showers, waterproofing must be complete and properly detailed before tile work begins. Tile and grout are finish materials, not waterproofing systems.
Plan the Layout Before Mixing Mortar
Large-format tile creates broad, uninterrupted lines. That is part of its appeal, but it means layout decisions are highly visible. A narrow cut at one wall, an off-center feature wall, or a poorly placed grout joint can stand out across the entire room.
A professional layout starts by finding the room's most important sightlines. In a bathroom, that may be the shower entry, vanity, or main doorway. In an open living area, it may be the longest wall, a fireplace, or the transition into an adjoining room. Tile should be dry-laid or measured from control lines before setting begins so cuts are balanced where possible.
Tile direction also changes the appearance of a space. Running a long plank or rectangular tile parallel to the room's longest dimension often makes the area feel longer. In a shower, a horizontal layout can make a wall feel wider, while a vertical layout can add visual height. There is no single right orientation, but the decision should support the room rather than fight it.
Pattern selection deserves the same care. Many wood-look and rectangular tiles have slight warpage from manufacturing. A 50 percent running bond can place the highest point of one tile beside the lowest point of another, increasing the risk of lippage. Manufacturers often recommend a smaller offset, commonly around one-third, for these products. The tile manufacturer's instructions should always guide the final pattern and joint width.
Use the Right Mortar and Coverage Method
Not every thinset mortar is designed for large and heavy tile. Large-format porcelain and stone need a mortar rated for the tile size, weight, substrate, and application. For vertical installations, non-sag performance may be necessary. For floors, the mortar must support the tile without allowing it to settle after placement.
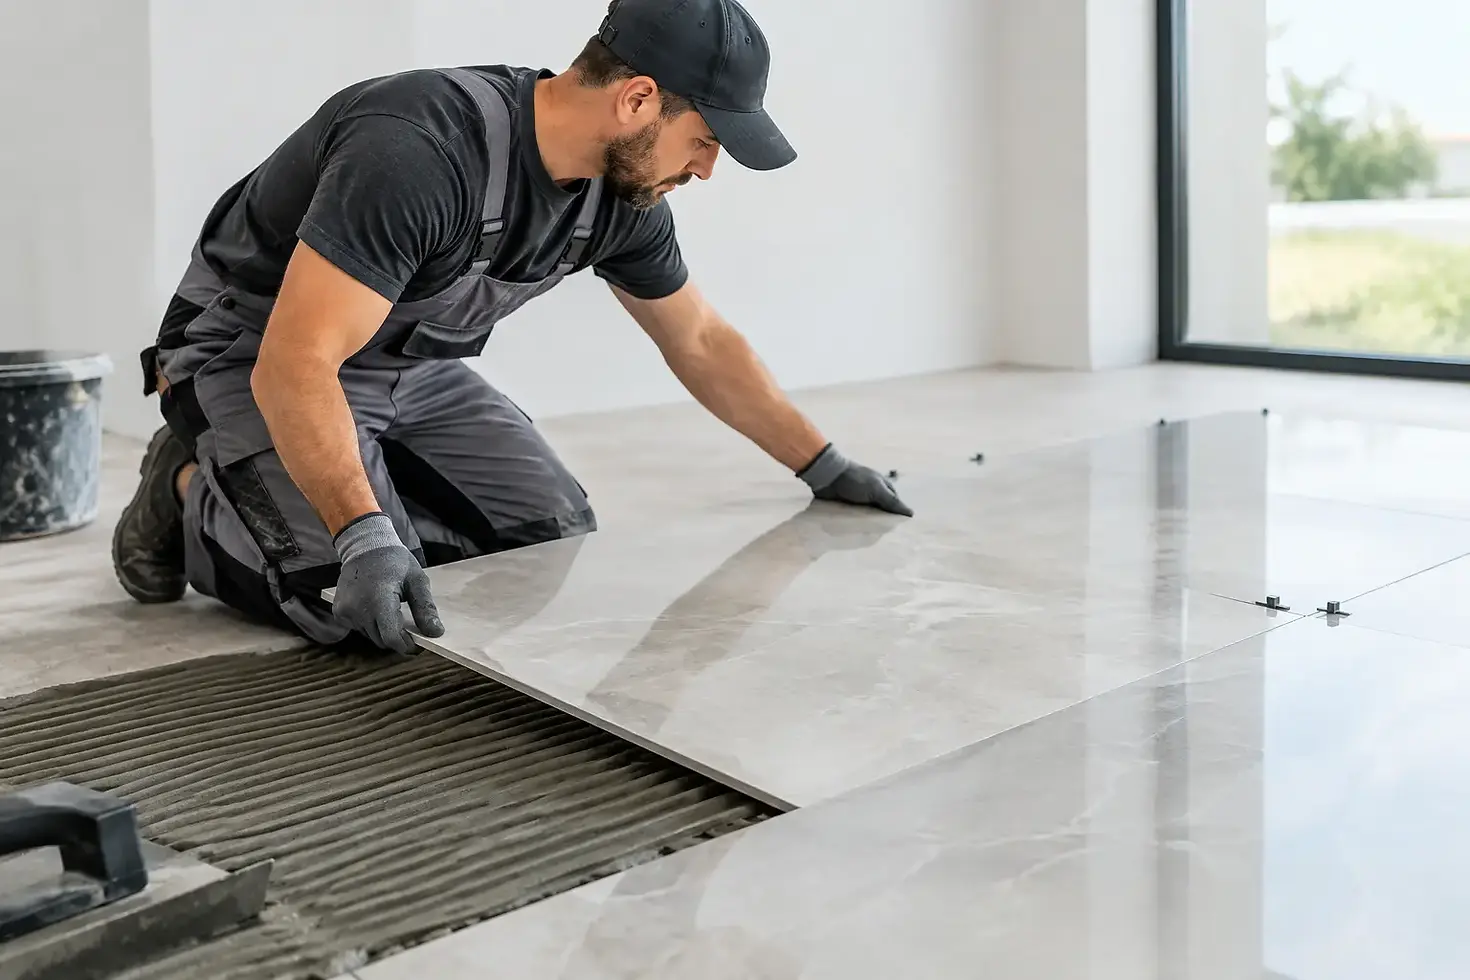
Proper mortar coverage is not optional. Mortar should be keyed into the substrate with the flat side of the trowel, then combed in straight, consistent ridges with the correct notch size. Directional troweling allows air to escape as the tile is pressed into place. Swirling mortar ridges can trap air and create voids.
Back-buttering is often part of large-format tile installation. This means applying a thin, continuous coat of mortar to the back of the tile before it is bedded into the combed mortar on the substrate. It is not a substitute for properly troweling the floor or wall. It helps improve contact and fill surface irregularities on the tile back.
Each tile should be moved firmly across the mortar ridges as it is set, then periodically lifted to verify coverage. The amount of required coverage depends on the application, but wet areas, exterior work, and areas subject to heavy traffic demand particularly thorough support. Voids under tile can lead to cracking when furniture, foot traffic, or a dropped object concentrates pressure in one spot.
Control Lippage Without Forcing the Tile
Lippage is the difference in height between adjacent tile edges. A small amount may be unavoidable because tile itself can have allowable warpage, especially in long rectangular formats. Still, noticeable lippage is usually a sign that substrate preparation, mortar application, tile selection, or layout needs attention.
A tile leveling and alignment system can help hold adjacent tiles in position while the mortar cures. These systems are useful tools, not corrections for an uneven floor. If clips are used to pull tile into place over a low spot or excessive mortar, the installation may look acceptable at first but lack proper support beneath the tile.
Grout joint width also matters. Very tight joints may look modern, but they reduce the installer’s ability to account for normal size variation between tiles. Rectified tile can typically use narrower joints than non-rectified tile, but the final joint width should follow the manufacturer’s stated recommendation. Consistent joints are more important than chasing the smallest possible line.
Do Not Skip Movement Joints
Tile assemblies expand and contract with temperature changes, moisture, building movement, and substrate movement. Grout is not designed to absorb that stress. Movement joints are necessary at changes in plane, around the perimeter, and at intervals across larger installations as conditions require.
This is especially important in California, where direct sun, large temperature swings, concrete movement, and expansive layouts can place significant stress on tile. Outdoor patios, commercial spaces, and rooms with wide banks of windows need careful planning. A movement joint is usually filled with an appropriate flexible sealant rather than rigid grout.
Transitions should also be planned before installation. Tile meeting hardwood, carpet, vinyl, or another tile field may need a profile, reducer, or carefully sized joint to protect the edge and create a clean finish. The best transition is one that looks deliberate and handles normal movement between materials.
Account for the Room and the Tile Type
Large-format tile is not one product category. A polished porcelain panel, textured outdoor porcelain paver, marble slab-look tile, and wood-look plank each have different handling and installation demands. Some require specialty cutting equipment. Others need additional installers to safely carry and set them without chipping corners or disturbing the mortar bed.
Bathrooms and showers add waterproofing and drainage considerations. Outdoor tile must be rated for exterior use and installed over a properly prepared assembly with drainage in mind. Commercial floors may require more demanding substrate evaluation because rolling loads and high traffic can expose weak spots quickly.
For a small backsplash, a homeowner may be able to manage a straightforward large tile installation with careful preparation. For a large floor, curbless shower, exterior patio, or commercial space, the cost of correcting a failure usually outweighs the savings of a rushed installation. Licensed tile specialists bring the preparation equipment, setting knowledge, and jobsite coordination needed to protect the finished work.
The Finish Is Earned in the Preparation
Grouting should happen only after the mortar has cured as required by the manufacturer. The joint should be clean and evenly filled, and changes of plane should receive flexible sealant where movement is expected. Final cleaning matters as well, particularly with textured tile or dark grout that can leave haze if not managed promptly.
When you install large format tile, the visible surface is only the final layer of the work. A flat substrate, sound waterproofing, full mortar support, balanced layout, and properly placed movement joints are what make that surface last. For projects where precision matters, taking the time to build the installation correctly is the best way to protect both the tile and the property around it.


Comments