

Bay Area Tile Renovation Guide for Lasting Results
A tile renovation can change how a room looks, cleans, and performs, but the visible tile is only one part of the job. This Bay Area tile renovation guide focuses on the decisions that protect the investment: selecting materials for the space, correcting the substrate, building showers that are properly waterproofed, and working with a contractor who understands the installation system from demolition through finish work.
For Bay Area homeowners and property owners, tile projects often involve more than a style update. Older homes may have uneven floors, aging plumbing penetrations, wall movement, or moisture damage hidden behind existing finishes. Addressing those conditions early is what separates a surface that looks good on installation day from one that stays sound for years.
Start With the Room’s Real Demands
Tile should be chosen for where it will be installed, not only for how it looks under showroom lighting. A porcelain floor tile may be an excellent choice for a busy entry, kitchen, or commercial space because it is dense, durable, and generally low maintenance. Natural stone can create a distinctive finish, but it may require sealing and more attentive care depending on the material and location.
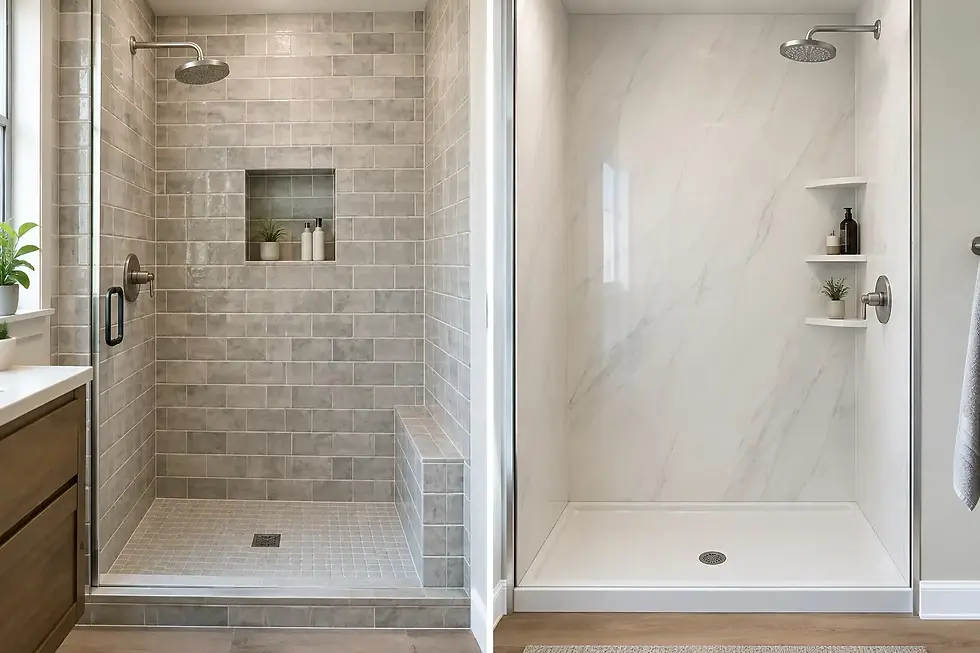
Bathrooms require a different level of planning. A main bathroom floor sees regular moisture, but a shower is a wet-area assembly. The tile and grout are finish materials, not the waterproof layer. A well-built shower relies on a continuous waterproofing system behind or beneath the tile, correctly detailed corners, properly sealed penetrations, and a drain connection that works with the chosen system.
Kitchen backsplashes are typically less demanding from a moisture standpoint, yet layout and finish quality matter more than many homeowners expect. Outlets, cabinet lines, range hoods, windows, and countertop variations all affect where cuts fall. A careful layout keeps narrow slivers and awkward transitions from becoming the first thing people notice.
Outdoor tile has its own requirements. Patio and exterior installations need materials rated for exterior use, proper drainage, an appropriate setting system, and movement accommodation. Bay Area conditions vary by microclimate, from coastal moisture to inland heat. The correct approach depends on sun exposure, the existing slab, drainage patterns, and whether the surface may experience significant temperature changes.
A Bay Area Tile Renovation Guide to Materials
Porcelain remains a practical choice for many renovation projects because it comes in a wide range of colors, sizes, and stone- or wood-look finishes. It performs well in high-traffic areas and can work on floors, walls, fireplaces, showers, and many exterior applications when the specific product is rated for the intended use.
Ceramic tile can be a cost-effective option for walls and backsplashes. It is available in many shapes and glazes, making it useful for decorative work. It may not be the right choice for every floor or exterior application, so product specifications should be reviewed before purchase.
Natural stone offers character that manufactured tile cannot fully duplicate. Marble, travertine, slate, and other stones have variation in color and veining, which is part of their appeal. They also require the right preparation and maintenance expectations. Some stones are more porous, can react to acidic cleaners, or show wear differently over time. For a client who wants a low-maintenance family bathroom, porcelain that resembles stone may be the better long-term fit.
Tile size also affects the project. Large-format tile can create a clean, modern look with fewer grout joints, but it demands a very flat substrate. If the floor or wall is not properly prepared, lippage and uneven grout joints become more likely. Smaller tile, especially mosaic tile, can conform to shower floors and curved areas more easily, but it creates more grout lines to clean.
Grout is another performance decision. Color changes the overall appearance, while joint width affects both style and installation requirements. A contrasting grout can highlight a pattern. A close-matching grout gives the field a quieter appearance. In wet or busy areas, the grout and sealant plan should be selected with cleaning and maintenance in mind, not just color samples.
Prep Work Determines the Finished Quality
The most reliable tile installations begin with demolition and substrate evaluation. Removing old tile can reveal cracks, weak underlayment, moisture damage, or wall framing that is not square. These conditions are not minor details. Tile is rigid, and it needs a stable, properly prepared surface.
On floors, the installer should assess flatness, structural movement, cracks, and transitions to adjacent rooms. The appropriate solution may include floor patching, self-leveling material, an uncoupling membrane, cement backer board, or replacement of damaged subfloor sections. The right method depends on the existing structure and the tile being used.
On walls, preparation may involve replacing damaged drywall, installing approved backer board in wet locations, straightening framing, and creating solid backing for accessories such as grab bars or shower doors. For a curbless shower, the planning must be even more precise because drainage slope, waterproofing continuity, floor elevation, and the bathroom entry all need to work together.
A qualified contractor should explain what is being corrected and why. A low estimate that skips prep can become expensive when tiles crack, water reaches framing, or the finished layout exposes uneven walls. Good workmanship is often less about rushing through installation and more about taking the time to make the surface ready for tile.
Plan the Layout Before Setting Tile
Layout is where craftsmanship becomes visible. Tile should be dry-laid or carefully measured before installation begins so the pattern is balanced at walls, doorways, and focal points. In a shower, that means considering the relationship between wall tile, niches, benches, valves, and the drain. In a kitchen, it means planning around outlets and deciding whether the backsplash will end at cabinets, wrap a window, or extend to the ceiling.
Ask to review the placement of decorative bands, niches, border pieces, and transition strips before the tile is set. This is especially valuable with veined porcelain or natural stone, where direction and sequencing affect the finished look. Small decisions made before installation are far easier to adjust than changes requested after mortar has cured.
Movement joints should be part of the plan as well. Tile assemblies need properly placed soft joints at changes of plane and in areas that may move. These details are not decorative, but they help reduce stress on the finished surface.
Budget for the Whole Installation, Not Just the Tile
Material price is only one portion of a tile renovation budget. Demolition, disposal, substrate repair, waterproofing, setting materials, trim pieces, plumbing coordination, and finish details all affect the final cost. A shower renovation may also require changes to valves, drains, glass, lighting, or ventilation.
It helps to separate fixed choices from flexible ones. Waterproofing, sound substrate preparation, and qualified labor should not be treated as optional upgrades. Tile size, pattern complexity, decorative accents, premium stone, and specialty trim are areas where the budget can often be adjusted without compromising the core installation.
For commercial properties, schedule and site conditions can matter as much as material selection. Work may need to be phased around tenants, business hours, access restrictions, or safety requirements. A clear scope and realistic sequencing reduce disruption and help maintain accountability across trades.
Choose a Contractor Who Understands Tile Systems
A tile contractor should be able to discuss more than color and square footage. Ask how the shower will be waterproofed, how the installer will prepare an uneven floor, what system will be used over cracks or transitions, and how the project will handle changes discovered during demolition. Clear answers are a sign that the contractor is planning for performance, not simply applying tile over whatever is already there.
Verify licensing, insurance, and project experience relevant to the scope. A backsplash and a full custom shower require different levels of technical work. Review the estimate for demolition, prep, waterproofing, material allowances, and who is responsible for related work such as plumbing or electrical changes. The goal is not the fastest promise. It is a defined process with fewer surprises.
Empire Tile & Stone approaches renovations with that full-scope mindset, from demolition and surface preparation through waterproofing, tile installation, and final detailing. For projects in San Jose, Los Gatos, Saratoga, and surrounding Bay Area communities, local site conditions and the condition of the existing home should guide the work from the first estimate.
Before selecting the final tile, bring home samples and view them in the room at different times of day. Then give equal attention to the work behind the tile. The finish you see matters, but the preparation you do not see is what gives a renovation its staying power.


Comments