
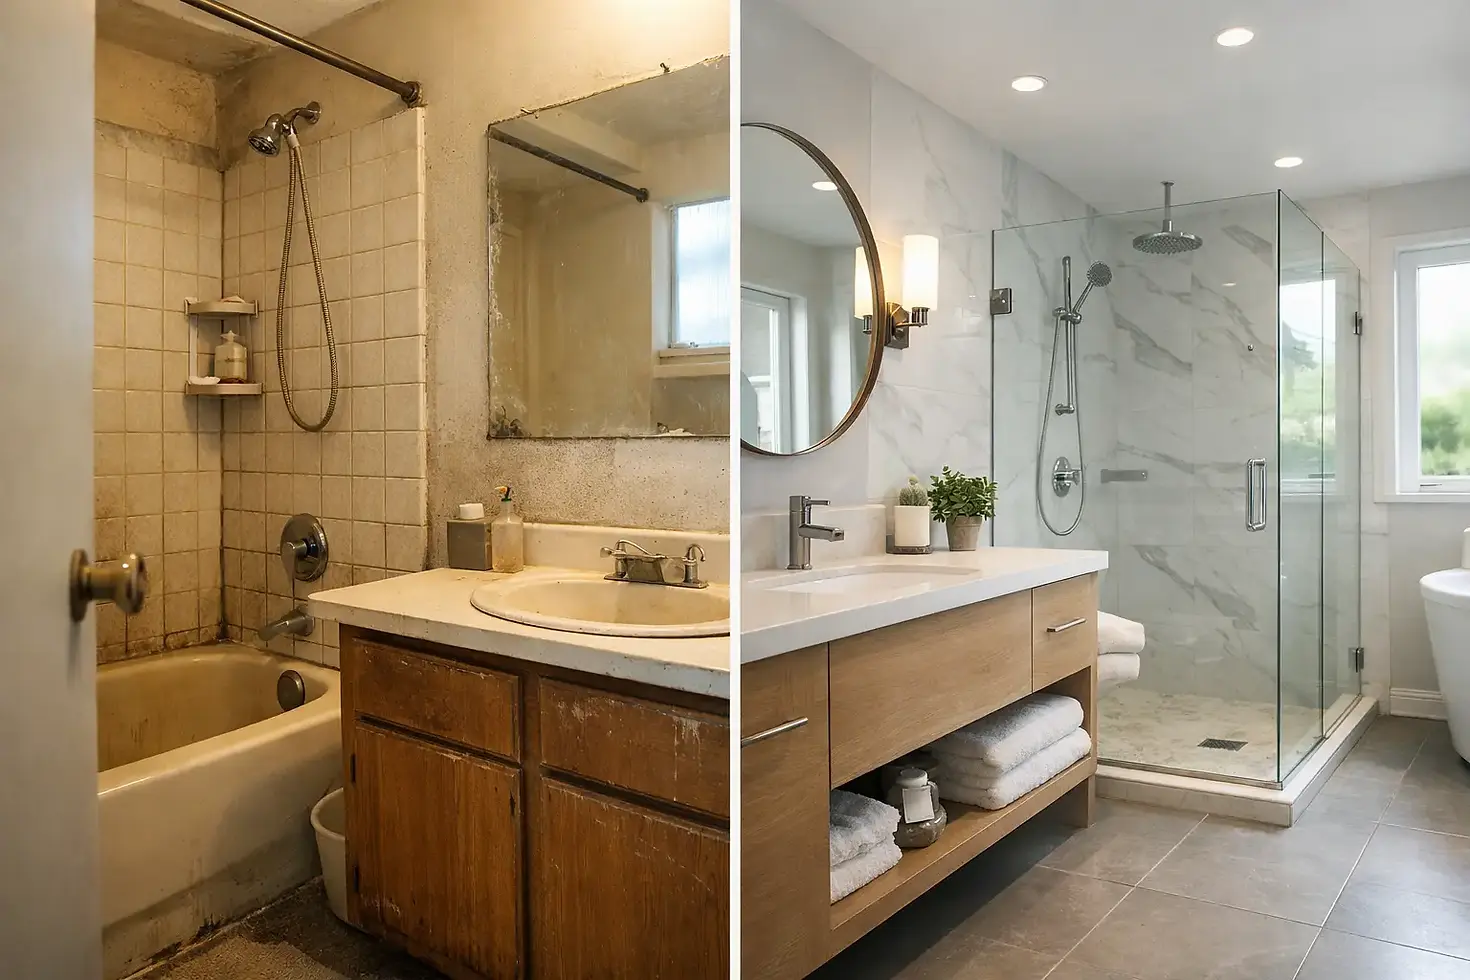
Bathroom Remodel Before and After Results
A successful bathroom remodel before and after project is not defined by a new vanity or a better paint color alone. The real difference is felt every day: a shower that drains correctly, tile that stays secure, storage that works, lighting where it is needed, and finishes that hold up to moisture and regular use.
The most impressive transformations start by addressing what was not working in the original room. That could be a leaking shower pan, dated tile, limited counter space, poor ventilation, cramped circulation, or surfaces that are difficult to clean. When the work is planned correctly, the finished bathroom looks better because the construction behind the walls is better too.
What Changes in a Bathroom Remodel Before and After
Before a remodel, many bathrooms show their age in practical ways. Grout may be stained or cracking. The shower may have a high curb, a tight opening, or a layout that wastes space. A vanity may offer little usable storage, while old lighting leaves shadows at the mirror. In older homes, there can also be hidden concerns, including water damage, improper backing behind tile, or failed waterproofing.
After the remodel, the visible transformation often begins with a cleaner layout and more intentional material choices. A properly sized vanity can provide counter space without crowding the room. A custom shower can replace an awkward tub or undersized stall. Large-format tile may reduce grout lines, while a mosaic shower floor adds traction and allows proper slope toward the drain.
But appearance should follow function. A bathroom that looks finished on day one but lacks reliable waterproofing can become an expensive problem later. The best before-and-after results balance design decisions with preparation, substrate work, drainage, and precise installation.
Start With the Problems, Not the Finish Tile
Homeowners often begin with a tile photo or a fixture style. That is useful for establishing direction, but the first planning conversation should focus on the room itself. Consider how the bathroom is used, who uses it, and what causes frustration now.
For a primary bathroom, the goal may be a larger shower, better lighting, and a more comfortable daily routine. In a hall bathroom, durability and easy cleaning may matter more than luxury finishes. For rental properties or commercial restroom upgrades, material selection may prioritize long-term wear, replacement availability, and straightforward maintenance.
A contractor should assess the existing conditions before finalizing the scope. Moving plumbing can create more usable space, but it can also add cost and time. Keeping the toilet and shower in their existing locations is often more efficient when the current layout works. On the other hand, it may be worth relocating fixtures when the change solves a clear problem, such as an inaccessible shower or a vanity that blocks the entry.
The right decision depends on the room, the budget, and the long-term value of the improvement.
The Work Behind the Tile Determines the Result
Tile is a finish surface, not a waterproofing system. This distinction matters most in showers, tub surrounds, and wet-room areas. Even high-quality porcelain tile and carefully selected grout cannot make up for poor preparation behind the installation.
A professional bathroom remodel typically starts with demolition and inspection. Once old finishes are removed, the installer can identify damaged framing, subfloor issues, plumbing concerns, and evidence of previous leaks. Addressing these conditions before rebuilding prevents the new work from covering up old problems.
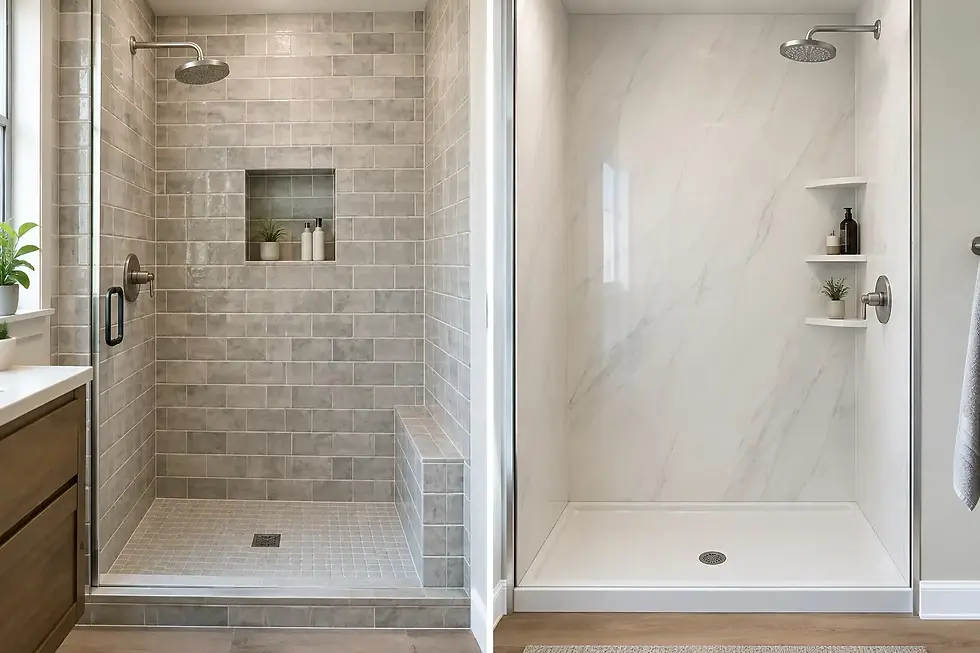
In a shower, proper construction includes a correctly prepared substrate, waterproofing at walls and floors, sealed transitions, and a floor slope that directs water to the drain. The shower pan and drain connection deserve particular attention. Water must move where it is supposed to go, without pooling at corners or penetrating behind the walls.
Flat, well-prepared surfaces also make a major visual difference. Large tiles show uneven walls quickly. Tight grout joints require accurate layout. Niches, benches, curbs, and outside corners need clean alignment. These details are where experienced tile craftsmanship is most visible.
Design Choices That Make the After Feel Better
The strongest bathroom transformations are usually not overloaded with trends. They use a clear material plan and place attention where it has the most impact.
For many homeowners, a neutral porcelain wall tile creates a durable foundation. It can be paired with a distinctive shower floor, a patterned accent wall, or a stone-look feature behind the vanity. Porcelain is especially practical because it resists moisture, is available in many styles, and performs well in high-use bathrooms.
Natural stone can add warmth and character, but it needs the right application and maintenance expectations. Some stones require sealing and more attentive cleaning than porcelain. That does not make stone the wrong choice. It simply means the material should match the owner's priorities and willingness to maintain it.
Lighting should be planned alongside tile and fixtures. Overhead lighting alone is rarely enough at the vanity. Well-positioned mirror lighting helps with daily grooming and makes the room feel more balanced. A dimmable ceiling fixture, task lighting at the mirror, and a shower-rated light can work together without making a smaller bathroom feel crowded.
Storage is another common before-and-after improvement. Recessed medicine cabinets, drawers instead of deep vanity cabinets, shower niches, and linen storage can reduce clutter without increasing the room's footprint. The key is to avoid placing storage where it interferes with door swings, shower access, or cleaning.
Small Bathrooms Need Better Planning, Not Just Smaller Fixtures
A compact bathroom can still feel open and functional when the layout is handled carefully. A floating vanity can expose more floor area visually, while a larger mirror reflects light and gives the room more depth. Clear glass shower panels can make a shower feel less enclosed, although they require regular cleaning to stay looking their best.
Large-format tile can also make a small room appear less busy because there are fewer grout lines. However, it is not automatically the right choice. Smaller tiles may be better for a shower floor because they conform to the required slope and provide more grout lines for slip resistance. The best design often mixes formats: larger field tile on walls and floor, with smaller mosaic tile in the shower pan.
Door placement matters as well. In tight bathrooms, an inward-swinging door can conflict with a vanity or toilet. Depending on the structure and layout, a pocket door or an outswing door may improve usable space. This is a decision that needs to account for framing, privacy, and local code requirements.
Set a Budget Around Priorities and Conditions
Bathroom remodeling costs vary because the scope varies. A cosmetic update with a new vanity, flooring, paint, and fixture replacement is different from a full demolition that includes a custom shower, new plumbing, electrical changes, waterproofing, and tile on multiple surfaces.
The smartest approach is to identify non-negotiables early. If the shower is leaking or outdated, proper demolition and waterproofing should not be reduced to protect a decorative upgrade. If accessibility is a priority, allocate the budget toward a low-threshold shower, wider clearances, secure grab-bar backing, and a practical fixture layout before choosing premium accents.
It is also wise to keep room in the budget for existing-condition repairs. Once walls and floors are opened, hidden water damage or outdated plumbing may need attention. A detailed estimate and clear scope help establish what is included, what may be discovered during demolition, and how changes will be handled.
Why Professional Installation Shows Up in the Final Photos
The best bathroom remodel before and after images often highlight tile, fixtures, and color. What they should also show is order: straight lines, balanced cuts, level surfaces, aligned grout joints, clean transitions, and details that make the room easy to use.
Professional execution means coordinating the sequence of work correctly. Plumbing and electrical rough-ins need to happen before walls are closed. Waterproofing needs to be complete before tile is installed. Tile layout should be established before setting begins, especially around focal points such as niches, windows, and vanity walls. Rushing one phase usually creates compromises in the next.
For homeowners in the Central Valley and Bay Area, Empire Tile & Stone approaches bathroom work with that full-project mindset. Tile installation is treated as a technical finish that depends on sound preparation, reliable waterproofing, and careful coordination from demolition through final details.
A bathroom should look like an upgrade, but it should perform like one too. When you compare the before and after, the best result is not just a more current room. It is a space built to handle real life, day after day.


Comments