

Outdoor Patio Tile Installation That Lasts
- Luis Nava
- Jul 16
- 6 min read
A patio can look finished on installation day and still fail after its first wet season. Outdoor patio tile installation has to handle more than foot traffic. It must account for direct sun, temperature swings, rain, irrigation overspray, soil movement, and the way water travels across the entire surface. The tile is the visible finish, but long-term performance depends on what is built underneath it.
For homeowners, builders, and property managers, the right approach starts before selecting a color or pattern. A qualified tile contractor evaluates the existing slab or deck, confirms drainage, chooses materials rated for exterior use, and builds the installation around the conditions of the site. Skipping any of those steps can lead to cracked grout, loose tile, standing water, or a slippery surface.
Start With the Existing Patio Surface
Concrete patios are common throughout California, but concrete is not automatically ready for tile. The slab needs to be structurally sound, clean, and properly sloped. Cracks, low spots, old coatings, and moisture issues should be evaluated before any mortar is applied.
Hairline cracks may be manageable with the right crack-isolation method. Wider cracks, vertical movement, or signs of settling need a closer look. Tile does not stop a slab from moving. If movement is ignored, the stress can transfer through the installation and crack the tile or grout above.
Surface preparation also matters. Paint, curing compounds, sealers, adhesive residue, and dirt can prevent mortar from bonding correctly. Mechanical preparation is often necessary to create a clean, porous surface that accepts thinset. This work is not the visible part of a project, but it is one of the main reasons a patio installation holds up.
Slope Is Not Optional
Water must drain away from the home and off the tiled area. A patio that is flat or sloped toward a structure can create problems well beyond the tile, including water intrusion at doors, walls, and foundations.
As a general rule, exterior surfaces need consistent slope toward an approved drainage path. The exact solution depends on the layout, existing elevation, nearby landscaping, and door thresholds. Sometimes a patio can be corrected with a mortar bed or surface preparation. In other cases, drainage improvements or more extensive concrete work are the responsible solution.
Choose Tile Made for Exterior Conditions
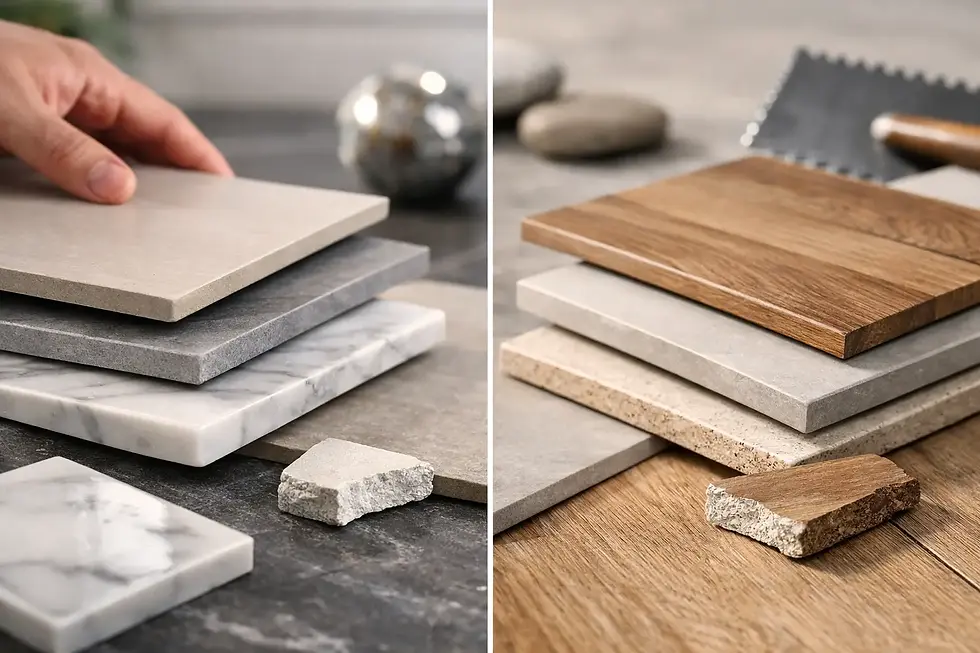
Not every tile sold for a floor belongs outside. A material may look appropriate in a showroom but absorb too much moisture, become slick when wet, or lack the strength needed for outdoor exposure. Product selection should be based on performance first, then appearance.
Porcelain is often a strong choice for exterior patios because many porcelain products have low water absorption and good durability. Natural stone can also create an excellent outdoor finish, but the specific stone matters. Some stones are more porous, more likely to stain, or more sensitive to freeze-thaw conditions than others. They may require sealing and a maintenance plan to protect their appearance.
Finish is equally important. Highly polished tile can be unsafe around pools, outdoor kitchens, walkways, and entry areas when water is present. Look for products with an exterior-appropriate slip-resistance rating and a texture that fits the use of the space. A dining patio and a pool deck may need different materials, even if the homeowner wants a coordinated design.
Color also has a practical side in the Central Valley and Bay Area. Dark surfaces can become very hot in direct summer sun, while very light tile may show dirt, leaf stains, or barbecue spills more quickly. Samples should be viewed outdoors at different times of day, not only under indoor lighting.
Use the Right Installation System
Exterior tile assemblies need materials that are designed to work together. That includes an appropriate thinset mortar, grout, movement joints, and, when needed, a crack-isolation or uncoupling membrane. Using interior-grade products outside is a short-term savings that can create an expensive repair later.
A professional installer selects mortar based on the tile type, tile size, substrate, and exposure conditions. Large-format porcelain, for example, requires proper mortar coverage and placement to avoid hollow areas beneath the tile. Voids can leave tile vulnerable to cracking under furniture, grills, dropped objects, or concentrated foot traffic.
Grout should be selected for exterior performance and installed with correct joint sizing. Narrow joints may create a clean modern look, but the layout still needs room for material variation and movement. Tile, concrete, and framing expand and contract at different rates. Without planned movement joints, the installation can tent, crack, or release from the substrate.
Movement Joints Protect the Finished Work
Movement joints are intentional gaps placed at perimeter walls, changes in plane, transitions, and appropriate intervals across larger tiled areas. They are typically filled with a flexible sealant rather than rigid grout.
They are easy to overlook because they do not draw attention in a finished patio. Yet they are essential to a durable exterior installation. The right joint placement depends on the size and shape of the patio, sun exposure, tile type, and existing control joints in the concrete. Covering or ignoring concrete joints with rigid tile does not eliminate movement below.
Plan Details Before Tile Is Set
A clean patio installation is defined by its edges, transitions, and drainage details. Before the first tile is installed, the contractor should know how the tile will meet exterior walls, sliding doors, steps, drains, planters, and adjacent surfaces.
Door clearance deserves particular attention. Adding tile, mortar, and waterproofing or membrane layers increases the finished height of the patio. If that height is not planned correctly, it can interfere with doors or create a path for water to enter the home. Transitions to grass, concrete, pavers, or interior flooring also need to be safe, durable, and visually intentional.
For elevated decks, balconies, or areas over occupied space, waterproofing becomes even more critical. The tile layer is not the waterproofing system. A properly designed assembly manages water below the tile and directs it to drainage points without trapping moisture. These projects require careful coordination because a failure can affect rooms or structures below.
Installation Quality Shows in the Layout
The tile pattern should work with the patio, not fight it. A good layout considers the main viewing angles, the longest walls, thresholds, and focal points such as a fireplace, outdoor kitchen, or pool edge. It avoids thin, awkward cuts where possible and keeps joint lines consistent.
This is especially important with large-format tile. Large pieces can make a patio feel open and refined, but they demand a flatter substrate and more precise installation. Lippage, which is an uneven edge between adjacent tiles, becomes more noticeable with larger units and with directional sunlight across the surface.
Experienced installers dry-lay key areas, establish reference lines, and confirm the layout before committing to mortar. That planning prevents last-minute decisions that compromise symmetry, drainage, or transitions.
Know When Repair Is Enough and When Replacement Is Smarter
Not every outdoor tile problem requires a full replacement. A few damaged tiles may be repaired if matching material is available and the surrounding installation remains well bonded. Failed grout can sometimes be addressed if the underlying tile and substrate are stable.
However, repeated cracking, widespread hollow tile, persistent efflorescence, loose sections, or water pooling usually point to an installation issue below the surface. Regrouting or caulking over those symptoms may improve the appearance temporarily, but it does not correct inadequate prep, poor drainage, or slab movement.
A site evaluation helps determine whether targeted repair is realistic or whether demolition and proper reconstruction will provide better long-term value. Empire Tile & Stone approaches this work with the full installation system in mind, because exterior tile is only as dependable as its preparation and drainage.
Care After Outdoor Patio Tile Installation
Once the patio is complete, regular care helps protect the investment. Sweep off abrasive sand and leaves, rinse away food spills and irrigation residue, and use cleaning products appropriate for the tile and grout. Natural stone may need periodic resealing, while porcelain generally requires less maintenance but still benefits from routine cleaning.
Avoid assuming that a pressure washer is always safe. Excessive pressure or improper technique can damage grout, force water into joints, and disturb sealants at edges. If a tile sounds hollow, grout begins to crack, or water stops draining as intended, address it early before a small issue spreads.
The best outdoor tile patio feels simple to own because the difficult work was handled before the tile was ever set. When the surface is properly prepared, drainage is deliberate, and exterior-rated materials are installed with precision, the finished space can stand up to daily use while giving the property a clean, durable place to gather.


Comments