

Kitchen Backsplash Tile Installation Done Right
- Luis Nava
- Jul 17
- 6 min read
A backsplash can look simple from across the room, but kitchen backsplash tile installation is judged at close range. The line beneath the cabinets, the cuts around outlets, the spacing at the countertop, and the grout joints all remain visible every day. A clean, durable result comes from planning the installation before the first tile is set.
For homeowners updating a kitchen in the Central Valley or Bay Area, the right backsplash adds more than color or pattern. It protects the wall from cooking moisture and splatter, creates a finished transition between countertops and cabinets, and can make an existing kitchen feel substantially more complete. The material matters, but the installation process matters just as much.
What a Professional Tile Installation Must Address
Backsplash work is often treated as a small cosmetic project. In reality, it brings together several finish details in a tight area. Cabinets may not be perfectly level, countertops can vary slightly in height, and walls are often less flat than they appear. A professional installer identifies these conditions early and adjusts the layout so the finished field looks intentional.
The substrate must also be sound. Loose paint, wallpaper residue, grease, damaged drywall, and uneven wall patches can interfere with thinset bond. The wall should be clean, dry, solid, and properly prepared for the chosen setting material. If the area behind the range has been exposed to heavy cooking residue, cleaning and surface preparation are not optional steps.
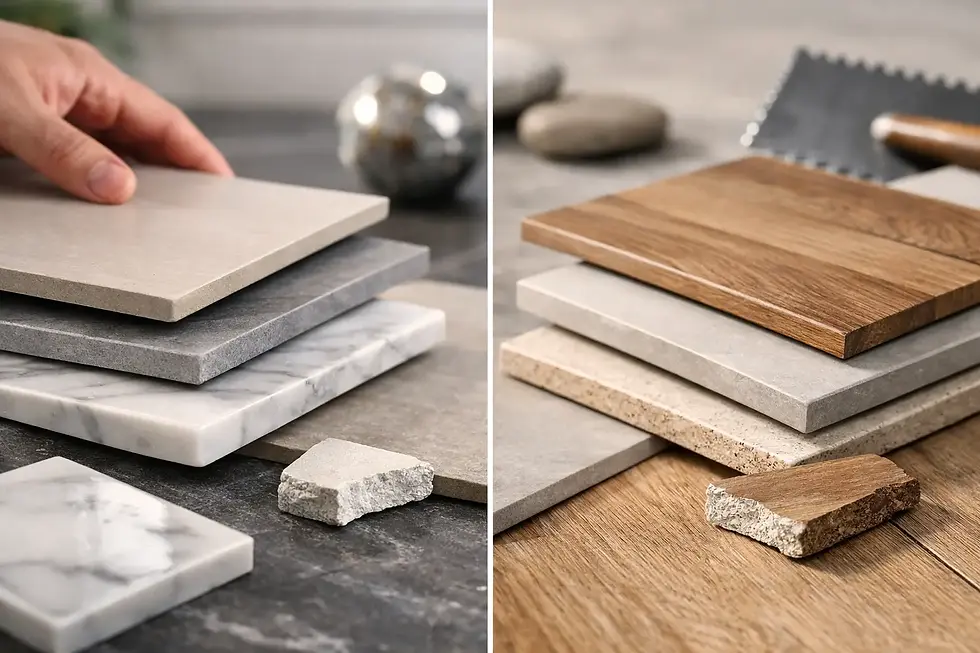
The tile selection affects the preparation. Small mosaic sheets can follow minor wall variation but require careful mounting to avoid uneven sheets and visible seams. Large-format porcelain or ceramic tile creates a clean modern look, yet it demands a flatter wall and precise cuts. Natural stone may need sealing and special care with grout selection. Handmade-look tile can have purposeful size variation, which calls for a layout that accommodates it rather than forcing perfectly uniform joints.
Planning Kitchen Backsplash Tile Installation
A strong layout starts with the focal points. In many kitchens, that is the range wall, a window, or the centerline of a sink. Rather than beginning at one end and hoping the cuts work out, an installer dry-lays the tile pattern and determines where full tiles will land. This is especially important with subway tile, herringbone, stacked layouts, and patterned material.
The goal is to avoid narrow slivers at visible edges whenever possible. A balanced layout may mean shifting the starting point slightly so cuts on both sides of a range are similar. It may mean centering a feature tile under a hood rather than simply following the corner of the wall. These choices are subtle, but they separate a planned installation from one that looks improvised.
Cabinet and Countertop Lines Need Careful Attention
The countertop is usually the main reference line, but it should not automatically control every row. If cabinets are out of level, blindly following one surface can leave the tile line visibly off at the cabinet bottom. An experienced installer checks both conditions and establishes the line that will look best in the completed kitchen.
A small movement joint is also needed where tile meets the countertop, cabinets, walls, or other changes in plane. These areas should receive a flexible, color-matched sealant rather than hard grout. Grout can crack when materials move independently, while sealant is designed to handle normal movement and help keep moisture out of the joint.
Outlets and Switches Cannot Be an Afterthought
Electrical boxes are one of the most noticeable details in a backsplash. Tile cuts should be clean, outlet boxes should be brought flush with the finished tile surface using approved extensions when needed, and cover plates should sit properly without hiding rough cuts. Depending on the layout and local requirements, an electrician may be needed to adjust outlets before tile work begins.
This is one reason backsplash tile should be planned before a final paint touch-up and before decorative outlet covers are selected. The tile thickness, trim profile, and finished wall depth all affect the final appearance.
Choosing Tile, Grout, and Trim That Work Together
The most practical backsplash material depends on how the kitchen is used and how much maintenance the owner wants. Ceramic and porcelain are durable, widely available, and generally easy to clean. Glass can add reflectivity and depth, though it often requires a setting material that will not show through. Natural stone brings character but can require sealing and more careful cleaning practices.
Grout is not merely a filler between tiles. Its color changes the look of the entire installation. A matching grout color creates a quieter, more continuous surface. A contrasting color emphasizes the tile pattern and makes each joint more visible. Lighter grout can brighten a wall but may show cooking stains more readily near a range. Dark grout can be practical, though it may make uneven spacing more apparent.
Trim deserves the same attention. Some tile lines terminate cleanly at an inside corner or beneath upper cabinets. Exposed ends at open walls, cabinet sides, or windows may need bullnose tile, stone trim, or a metal edge profile. The right finish protects exposed tile edges and gives the installation a deliberate endpoint. Leaving unfinished tile edges visible is rarely the best long-term choice.
The Installation Process That Protects the Finish
Once the wall is prepared and layout is approved, tile is installed with the correct adhesive or thinset for the material and substrate. Coverage matters. Setting material must support the tile consistently, particularly with larger pieces, without excessive buildup that pushes tiles out of plane. Spacers and leveling methods may be used where appropriate, but they do not correct poor wall preparation or rushed layout work.
Tile should be cut with equipment suited to the material. Porcelain may require a quality wet saw or specialized blade. Glass and stone need methods that reduce chipping. Detailed cuts around outlets, windows, and cabinet returns should be measured individually. In an older home, walls and cabinets may not be square, so repeating a single measurement across the entire wall can produce poor results.
After the tile has cured for the required time, grout is installed and cleaned carefully. Grout haze should be removed without leaving residue on the tile face, especially on textured tile or natural stone. The perimeter and change-of-plane joints are then sealed with flexible caulk. If the selected tile or grout requires sealer, it should be applied according to the manufacturer’s guidance.
Common Problems That Are Easier to Prevent Than Repair
The most frequent backsplash issues usually begin before grouting. Uneven walls can create lippage, where one tile edge sits higher than the next. Poorly centered layouts can leave thin cuts beside a range or window. Incorrect setting material may affect bond strength or show through translucent tile. Grouting countertop joints can lead to cracking later.
Rushing the schedule also creates problems. Tile, thinset, grout, and sealant each need proper cure time. Reinstalling outlet covers too soon, wiping grout aggressively, or using the kitchen before sealant has cured can compromise an otherwise good installation.
A backsplash is a visible finish surface, so repairs are not always simple. Replacing one cracked tile can disturb neighboring grout joints. Correcting a poor layout may require removing a substantial section. Investing in competent preparation and installation is usually more cost-effective than trying to correct finish issues after the kitchen is back in use.
When Professional Installation Is Worth It
A straightforward backsplash with square ceramic tile and minimal outlets may be manageable for an experienced homeowner. The calculation changes when the design includes herringbone, mosaics, large-format tile, natural stone, multiple transitions, a feature wall behind the range, or walls that need repair. Those details require more than basic tile-setting skills.
Licensed, bonded, and insured tile professionals also provide accountability when backsplash work is part of a larger kitchen renovation. Coordinating demolition, substrate repairs, outlet adjustments, countertop timing, and final finish work helps avoid the common gaps between trades. Empire Tile & Stone approaches these projects with the same precision used on larger tile and remodeling scopes.
Before choosing a tile, stand in the kitchen and look at the surfaces the backsplash must meet. Note the cabinet lines, outlet locations, range wall, and exposed edges. A material that looks right on a sample board should also work with the real conditions of the room. That practical check is often where a backsplash moves from a good idea to a finished surface built to last.


Comments