
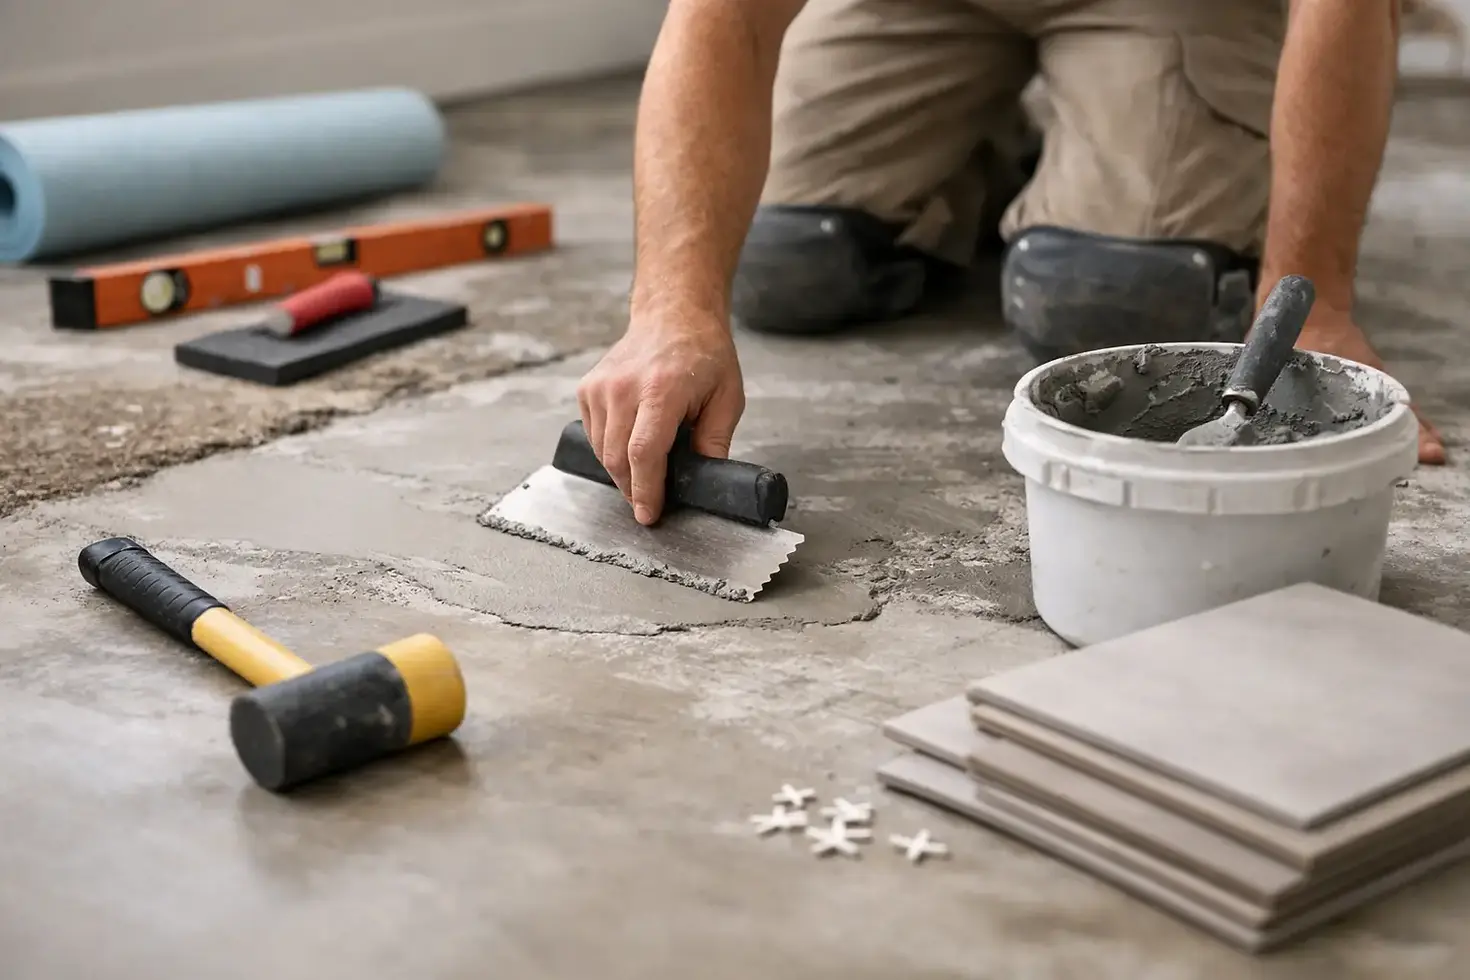
How to Prep Floor for Tile Installation
- Luis Nava
- Jul 7
- 6 min read
A tile floor usually fails long before the first cracked tile shows up. The problem often starts underneath it - with a surface that was never properly cleaned, flattened, reinforced, or dried out. If you want to know how to prep floor for tile installation, the short answer is this: the floor needs to be clean, solid, level enough for the tile you chose, and built to handle movement and moisture.
That sounds simple, but proper prep changes based on what is already in the space. A concrete slab needs different attention than a plywood subfloor. A bathroom has different moisture concerns than a living room. Large-format tile demands flatter surfaces than smaller tile. Good preparation is not the glamorous part of the job, but it is the part that determines how the finished floor performs over time.
Why floor prep matters before tile installation
Tile and grout are rigid materials. They do not tolerate flex, contamination, or uneven support very well. If the surface underneath moves, dips, or holds moisture, the finished installation can develop hollow spots, loose tiles, lippage, grout cracking, or waterproofing issues.
This is why professional tile work starts with evaluation, not thinset. Prep is where workmanship shows. The goal is to create a stable assembly that supports the tile system as a whole, not just make the floor look ready from a distance.
How to prep floor for tile installation the right way
The first step is to remove any finish materials that should not stay under tile. That may mean carpet, laminate, vinyl, old tile, adhesive residue, or damaged underlayment. Tile needs a proper substrate. Installing over questionable materials saves time on day one and creates risk later.
Once the surface is exposed, check the structure. On wood-framed floors, deflection matters. If the floor has bounce or flex, tile is not going to forgive it. In some cases, the framing below needs reinforcement. In others, the subfloor is too thin, water-damaged, or poorly fastened and needs repair or replacement before anything else happens.
For concrete, the concern shifts to cracks, moisture, contamination, and flatness. Hairline shrinkage cracks may be manageable with the right crack isolation approach, but active movement, severe settling, or moisture issues need to be addressed directly. Paint, curing compounds, oils, and old adhesives can also interfere with bond strength and must be removed.
Start with a clean, bare, sound surface
A tile substrate should be free of dust, grease, debris, wax, and loose material. Sweeping alone is not enough if there is adhesive residue or surface contamination. Thinset bonds best to clean, absorbent, stable surfaces. If the floor is dirty or sealed off with old residue, the mortar may never develop the grip it needs.
Soundness matters just as much as cleanliness. Soft spots in wood, crumbling patch material, loose fasteners, or flaking concrete should be corrected before tile goes down. If the floor is weak in one area, that weakness tends to show up later in the exact same place.
Check flatness, not just level
A lot of people say a floor needs to be level for tile. In practice, flatness is often the more critical requirement. Tile can be installed on a floor that is slightly out of level if the plane is consistently flat. What creates trouble is dips, ridges, and abrupt transitions.
This becomes even more important with large-format tile. The bigger the tile, the less it can hide surface variation. A floor that seems close enough by eye may still create lippage and uneven mortar coverage. Using a long straightedge is the practical way to find high and low spots before installation starts.
If the floor has minor irregularities, patching or self-leveling underlayment may be the answer. If the slab has pronounced humps, grinding may be needed. On wood floors, flattening may involve correcting subfloor seams, adding underlayment, or rebuilding sections that are out of plane. There is no single fix for every floor, which is why inspection matters.
Choosing the right underlayment or substrate
Tile should not be set directly over just any surface. The correct underlayment depends on the structure below and the demands of the space.
On wood subfloors, cement backer board is common, but it is not a structural fix. It provides a suitable tile surface, but it does not strengthen a weak floor. Uncoupling membranes are another option and can help manage minor movement while simplifying installation in some applications. In wet areas, waterproofing may also be part of the floor assembly, especially where the tile floor ties into shower or bathroom work.
On concrete, underlayment may not be needed if the slab is clean, sound, and flat enough. But if there are cracks, moisture concerns, or elevation changes, the assembly may call for crack isolation, moisture mitigation, or patching products before tile goes in.
The right choice depends on conditions, tile type, and intended use. A powder room floor and a busy commercial entry do not get approached the same way.
Moisture is never a small detail
Moisture issues are one of the most overlooked parts of floor prep. On concrete slabs, excess moisture can affect bond performance and lead to failures that are hard to diagnose after the floor is finished. In bathrooms, laundry rooms, and entry areas, water exposure can also affect the layers below the tile if the assembly is not built correctly.
This is where a straightforward prep plan matters. If there is a history of moisture, visible staining, or slab conditions that raise concern, testing and proper treatment should happen before tile installation. Covering the problem does not solve it.
Wood subfloor prep for tile
Wood-framed floors need extra attention because movement is the enemy of tile. Start by confirming the subfloor thickness and condition. Loose panels should be re-fastened. Squeaks are worth addressing now, because movement under foot often points to fastening or framing issues that tile will amplify.
If the subfloor has water damage, swelling, or delamination, replacement is usually the better path. Patching over compromised wood rarely gives a long-term result. After repairs, the surface should be checked again for flatness, and the appropriate tile underlayment should be installed according to manufacturer requirements, including fastener spacing and seam treatment.
Skipping those details is where many installations go wrong. Even good tile materials cannot make up for a poorly prepared wood base.
Concrete floor prep for tile
Concrete seems solid, but that does not automatically mean it is ready for tile. Slabs often have curing residue, paint overspray, old flooring glue, surface cracks, or low spots that need attention. They can also hold moisture longer than expected, especially in ground-level installations.
Mechanical preparation is often the right approach when contamination is present. The floor may need grinding or scarifying to open the surface and remove bond breakers. Cracks should be evaluated, not just filled casually. Some can be managed with the right membrane system, while others suggest ongoing movement that needs a closer look.
Low areas should be corrected with a suitable patch or leveling product rated for tile applications. The goal is not to make the slab look prettier. The goal is to create uniform support for the tile and mortar bed.
Before tile goes down, dry-fit the plan
Prep is not only about the substrate. It also includes checking transitions, finished floor height, appliance clearance, door swing, and layout implications. If a new tile floor will sit higher than adjacent flooring, that should be planned before installation day. The same goes for toilets, cabinets, thresholds, and base details.
This part gets missed in rushed remodels. A floor can be technically well bonded and still create functional problems if elevations were not considered early enough.
Common prep mistakes that cost more later
The most common mistakes are installing over unsupported surfaces, ignoring floor flatness, setting tile over contaminated concrete, and assuming backer board fixes structural problems. Another frequent issue is underestimating moisture risk in bathrooms, slab-on-grade homes, or areas with past leaks.
There is also the temptation to leave old material in place because demolition looks messy or expensive. Sometimes that is workable, but often it creates a stack of unknowns. For a long-lasting result, clean removal and proper rebuilding is usually the better investment.
When professional prep makes the difference
If the floor has visible movement, major cracks, water damage, multiple layers of old flooring, or large-format tile planned for the space, prep should be handled carefully. These are the situations where experience pays off. A qualified tile contractor knows what can be corrected with standard prep and what points to a deeper problem in the structure or slab.
For homeowners and property managers, that matters because tile is a finish surface with very little margin for shortcuts. In markets like the Central Valley and Bay Area, where properties range from older homes to newer commercial buildouts, floor conditions vary more than many people expect. The prep plan should match the actual site conditions, not a generic checklist.
Empire Tile & Stone approaches floor prep the same way it approaches installation - with attention to structure, surface condition, and long-term performance. That is the standard tile work requires if you want the finished floor to stay clean, stable, and durable.
The best-looking tile floor starts where nobody sees it. Get the base right, and the rest of the installation has a fair chance to perform the way it should.


Comments